Part 61: Ancient Path I - Claret Woods
Update 61: Ancient Path I – Claret Woods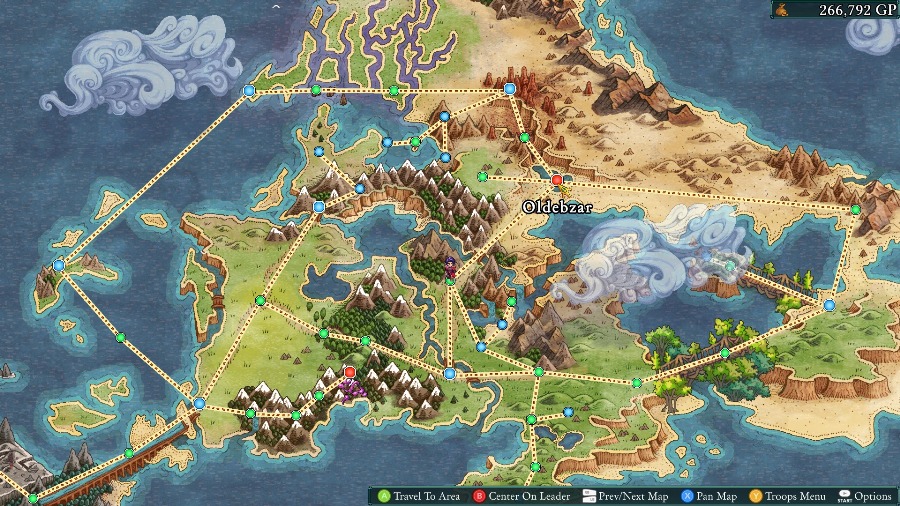
Hello and welcome back! Last time we finished off the last of the sidequests. This time we’ll finally be starting the bonus dungeon. As you can see on the map, Oldebzar is now red and there is a new green area to its west.
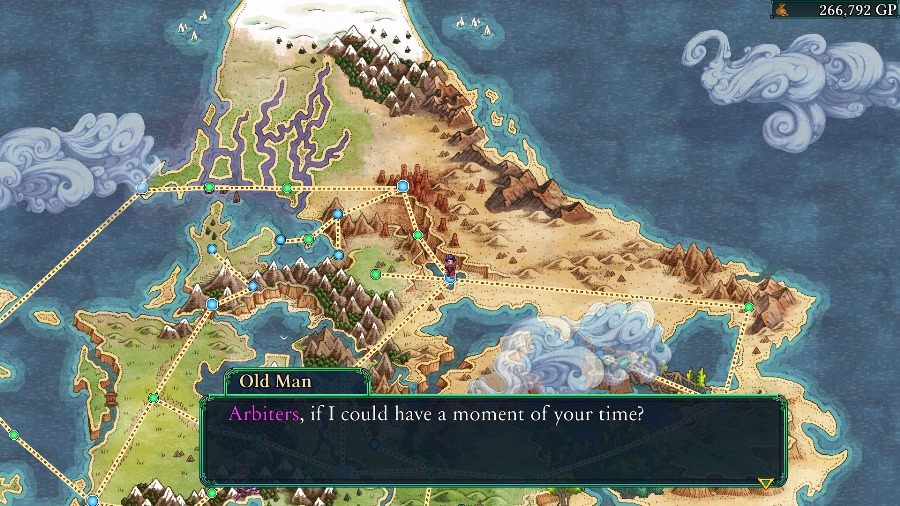
Moving to Oldebzar triggers a dialogue.
 Of course. What’s on your mind, friend?
Old Man: Our town has recently come under attack by undead and demonic creatures. The raids began shortly after the recent troubles in Illuster. Our hunters tracked them to a nearby forest, but were unable to locate a lair. It’s like they’re just… appearing in the woods. Whatever their provenance, our people are scared. Can you help us, Arbiter?
We have much to occupy us these days, but what you describe is very odd… We’ll look into this.Old Man: You have our gratitude! But please be careful out there/ Something’s not right in those woods. If only I was ten years younger…
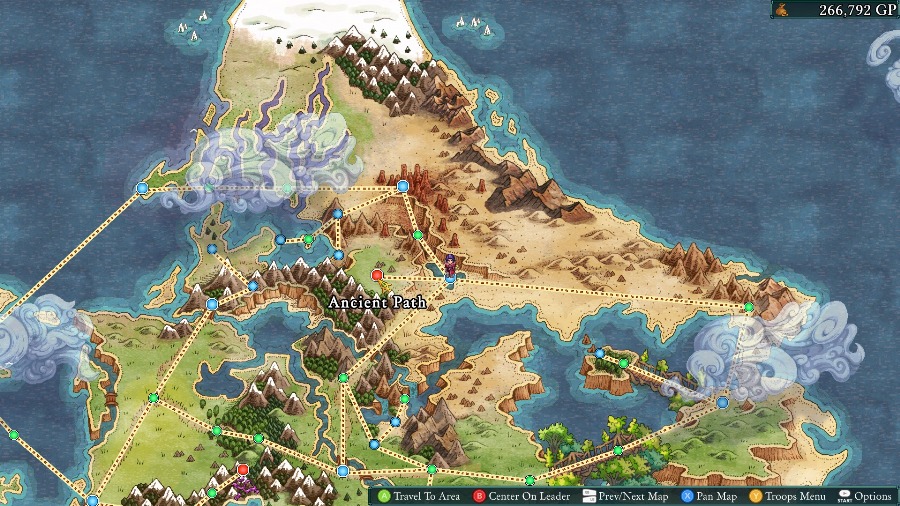
After that, the new area, called the Ancient Path, turns red.
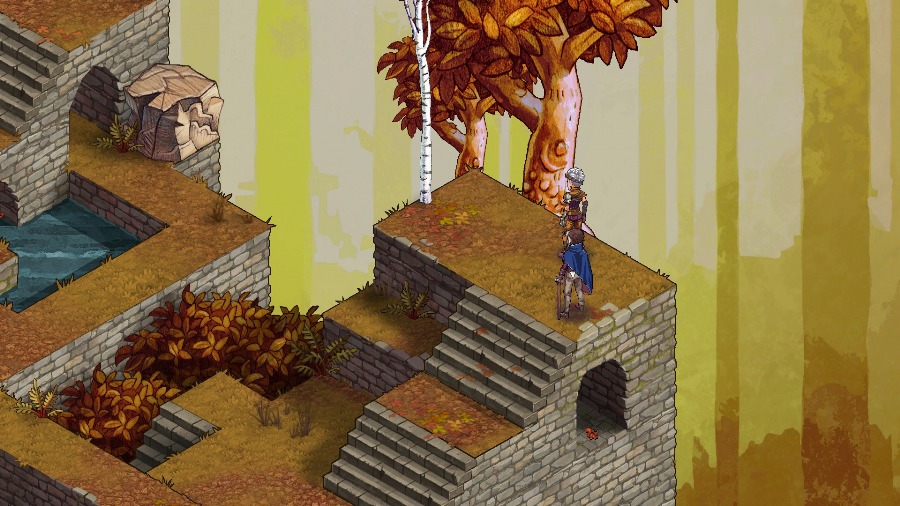
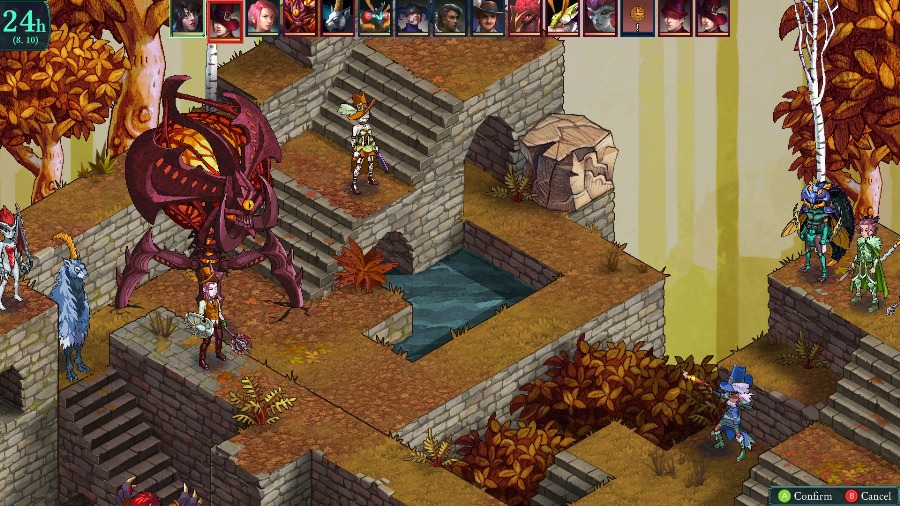
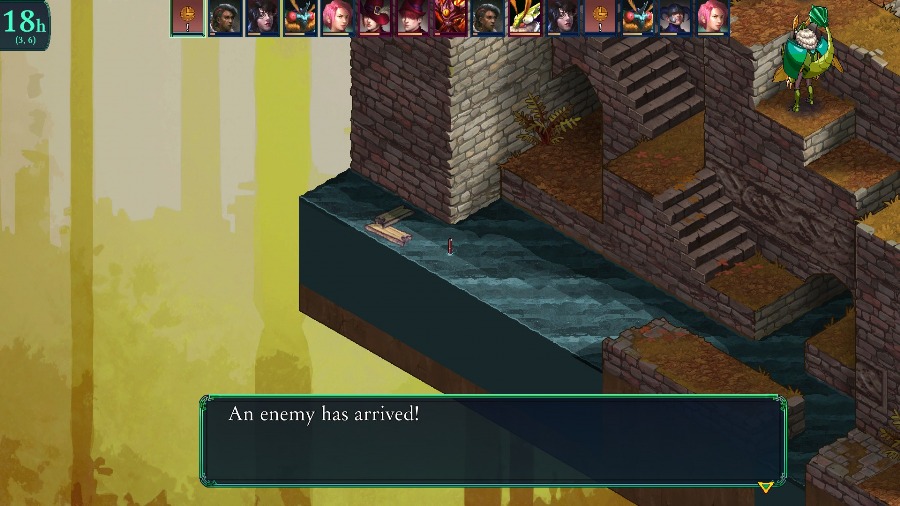
Katja and Yates are the first on the scene this time.
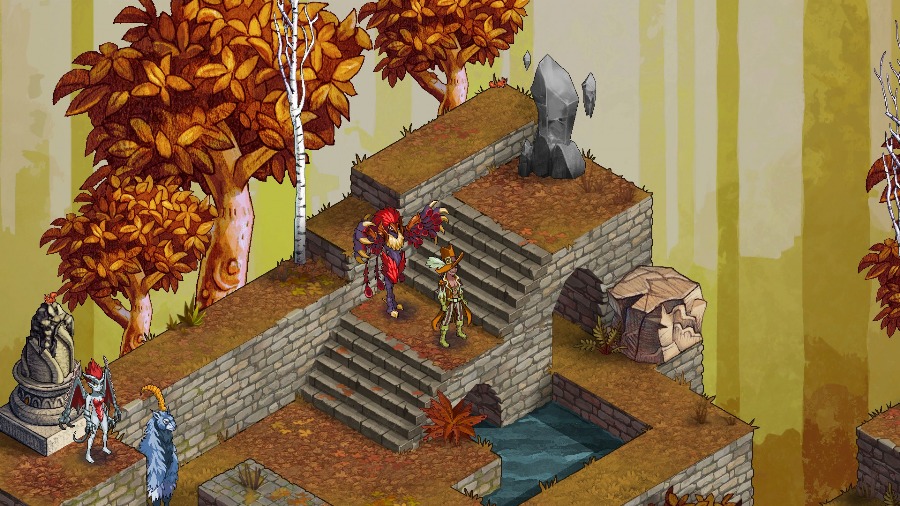
The camera pans over to a group of unfriendly folks.
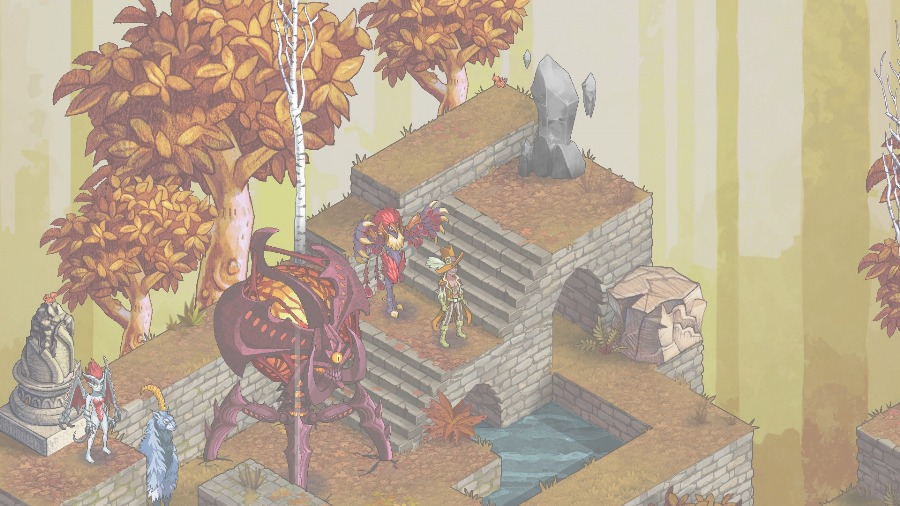
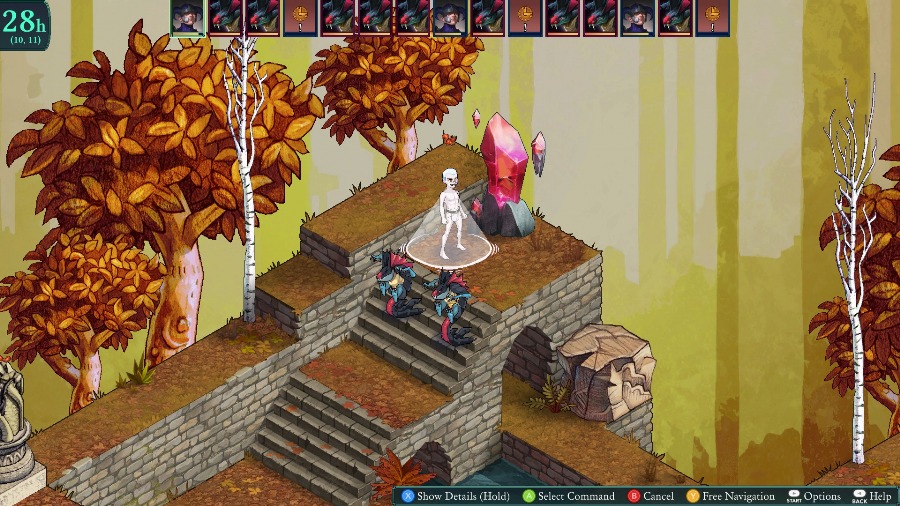
There’s a flash and suddenly an Aeoth appears!
 It should allow us to travel to wherever these creatures are coming from… but alas, this one appears to be dormant on our side.
 One-way-like, ye mean? Nothing to fret over though. We need only to fuel it before we can utilize it. And how do ye reckon we go about doin’ that? Ectoplasmic energy. Ecto-what now? Not all o’ us had yer posh schoolin’ doc.
 (Sigh) Think of it as an organism’s dying breath. That is the “fuel” we require. If we fell enough of these creatures, the crystal should reawaken. And then we can use it proceed onward. Right-o, now ye’re speakin’ me language!
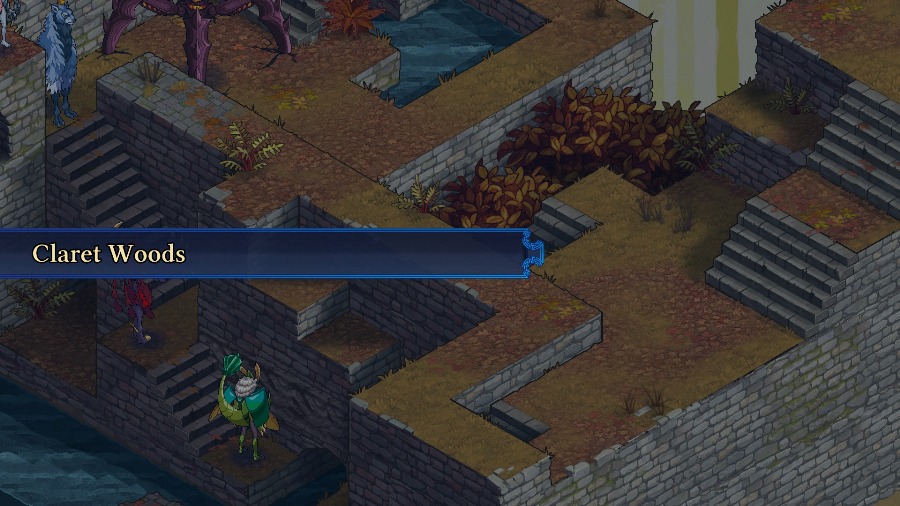
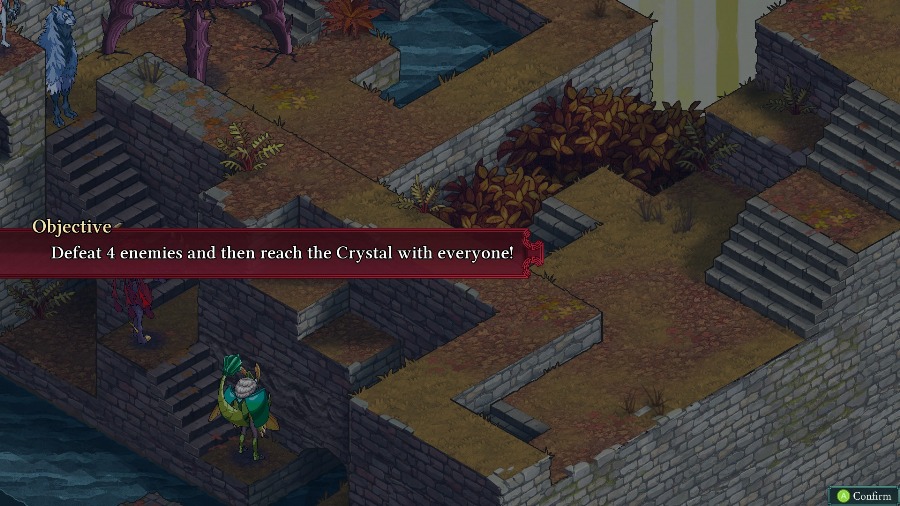
And it’s time to fight! Most of the bonus dungeon levels have a similar win condition, which is defeat a minimum number of troops and then escape through the crystal. But in practice, I still treat them as basically “defeat all”s just because the crystals are heavily guarded and in the back anyway. The maps are usually pretty neat, though, and all of the fights are pretty difficult.
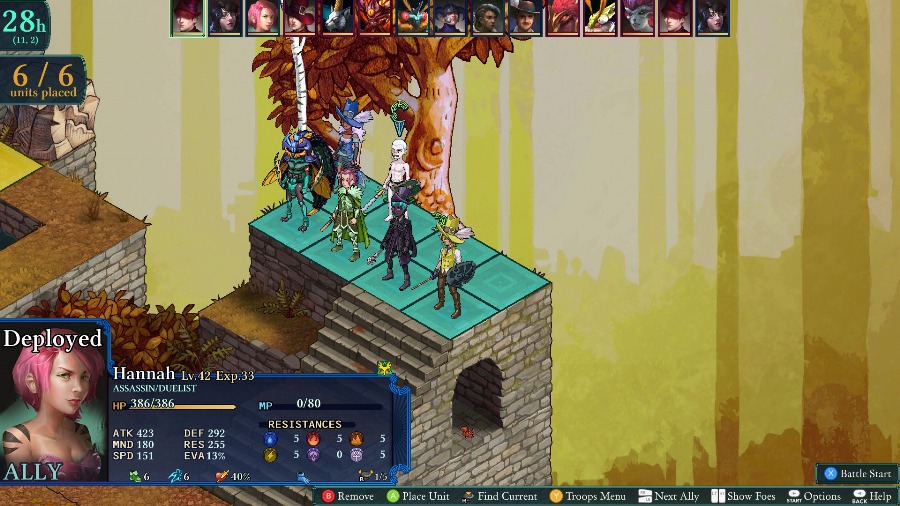
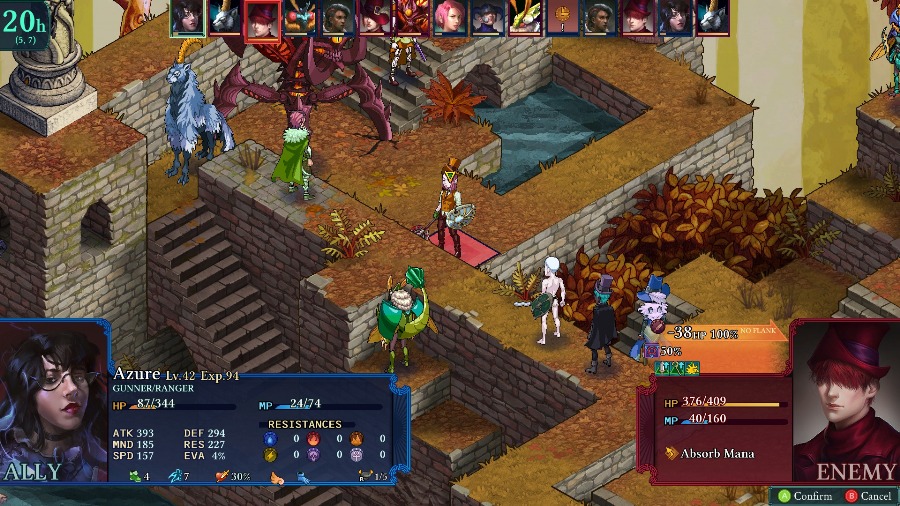
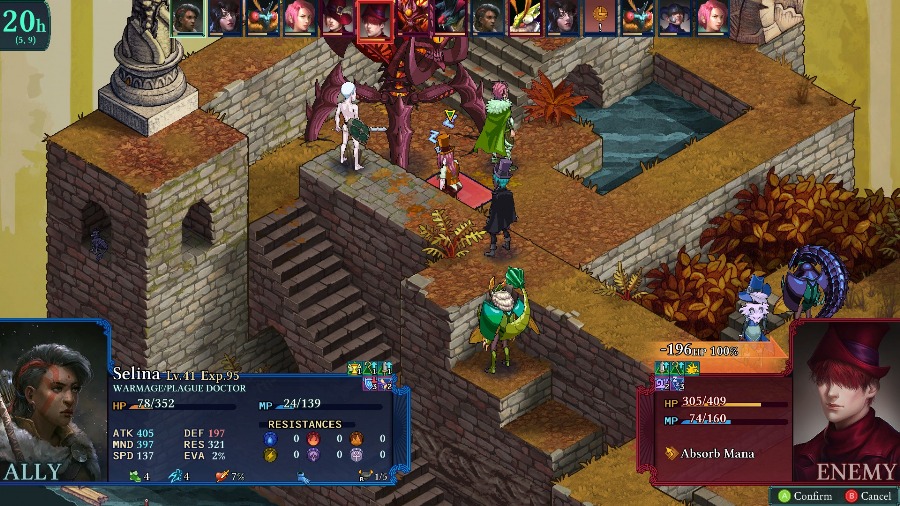
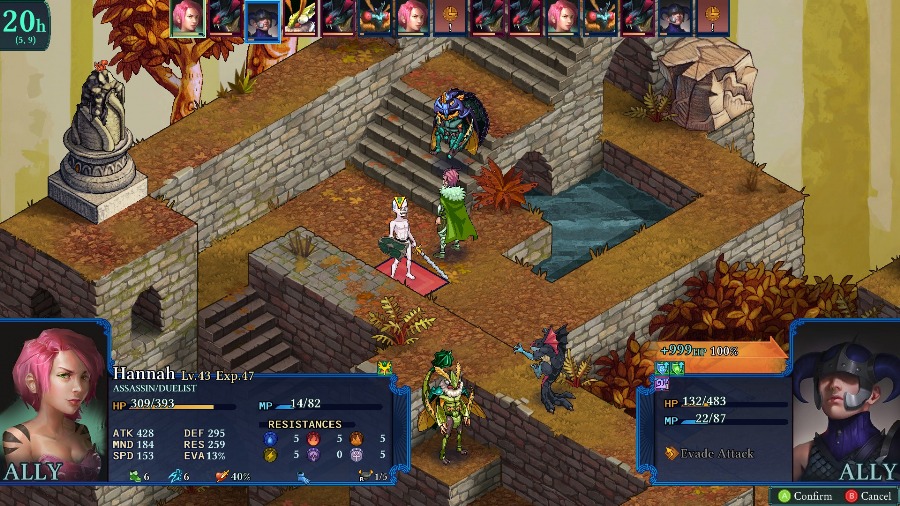
After a few shots, I end up bringing Azure, Bzaro, Hannah, Mongo, Selina, and Eustace. A little light on healing, but most people are at least somewhat bulky and can output good damage.
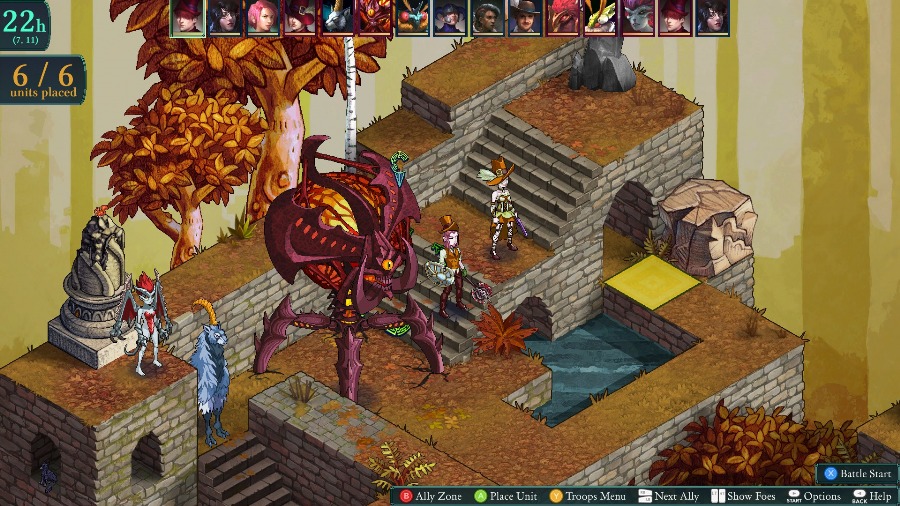
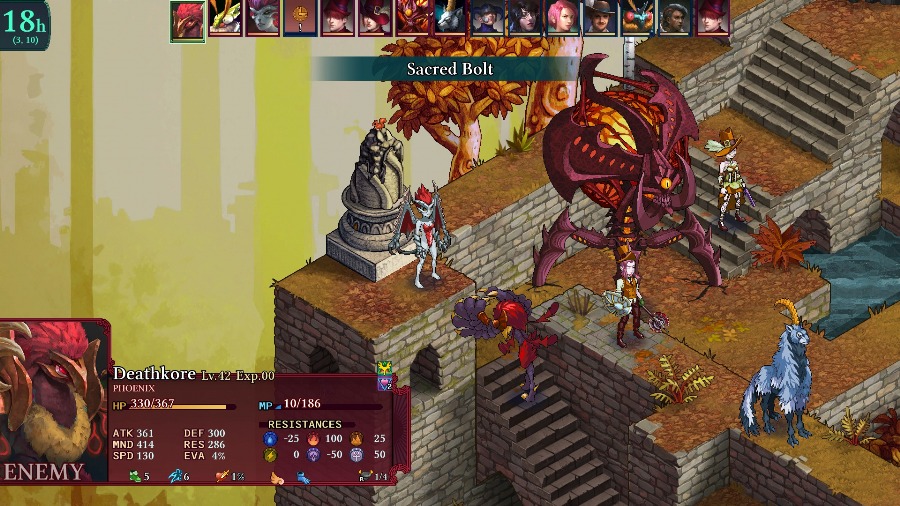
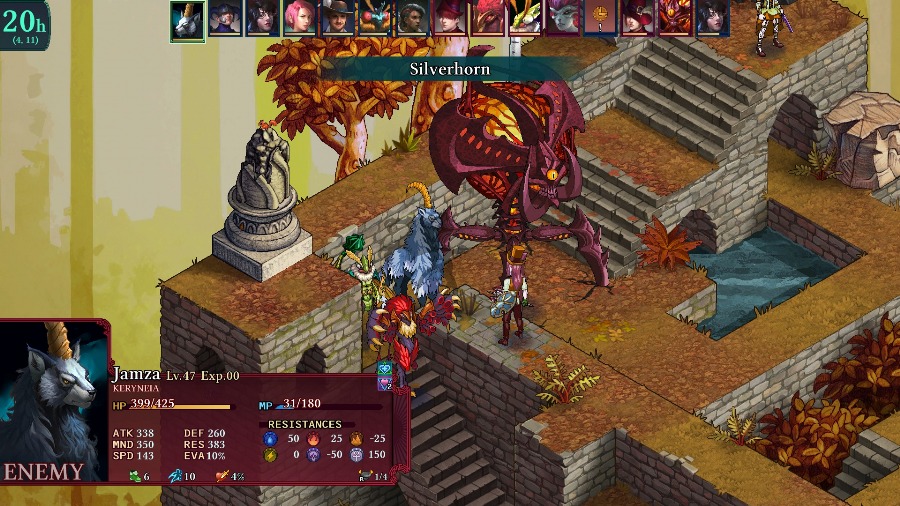
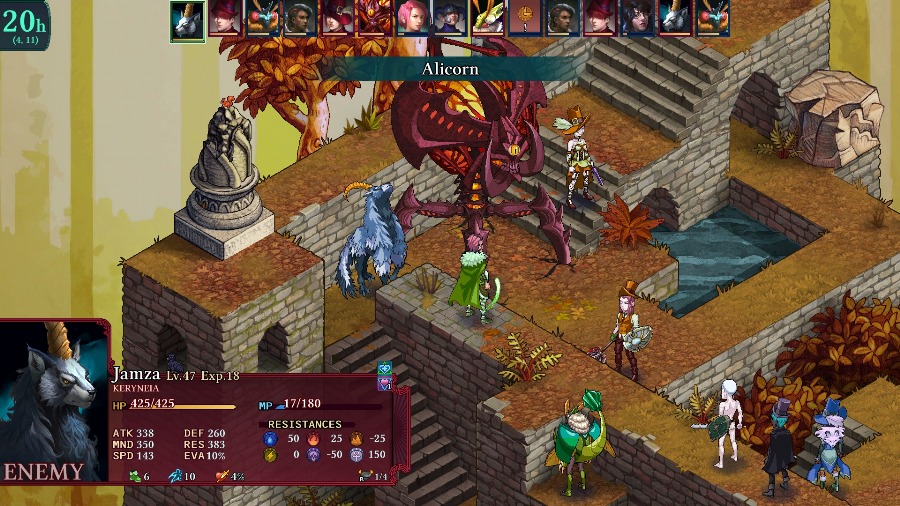
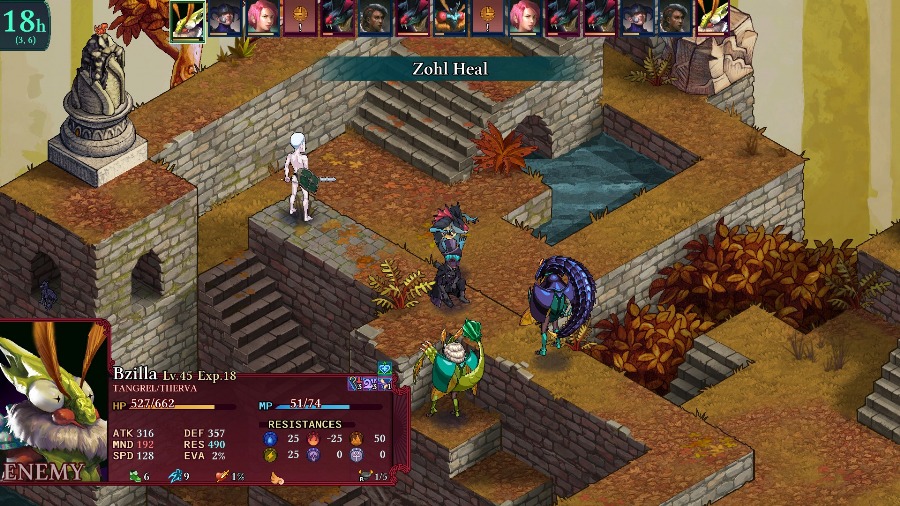
Up against us are a Tangrel Bzil, a Phoenix, a Domincubus, a Keryneia (high tier Daodrenner), an Aeoth, a Peddler, and a Gunner. The big annoyances in this fight are the Gunner (because the vast majority of the map is in range and it’s hard to reach them) and the Keryneia (because it can both heal well and inflict heavy magic damage).

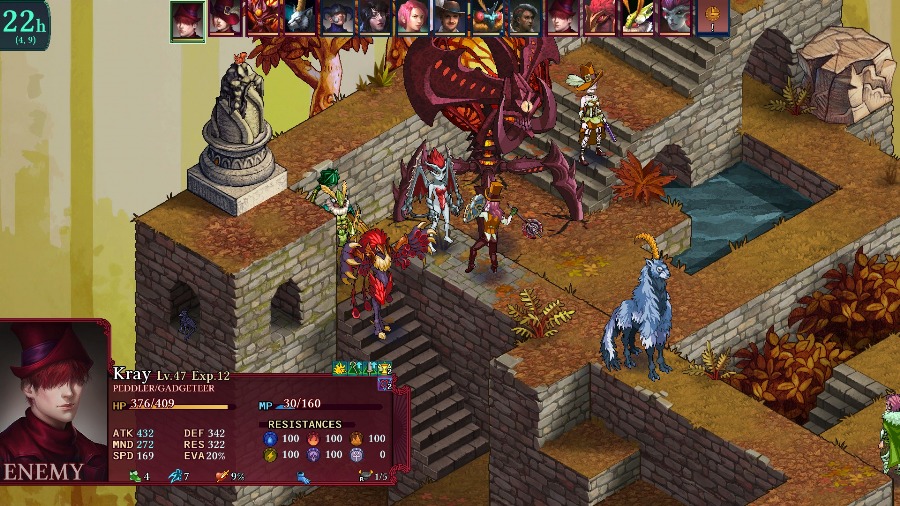
All of the enemies also have top tier equipment, as demonstrated by this Peddler having both a Shield of the Six and a Cap of Ages on. The Gunner has a Cap of Ages as well.
I start the fight off by attempting to berserk the Gunner, though it doesn’t work.

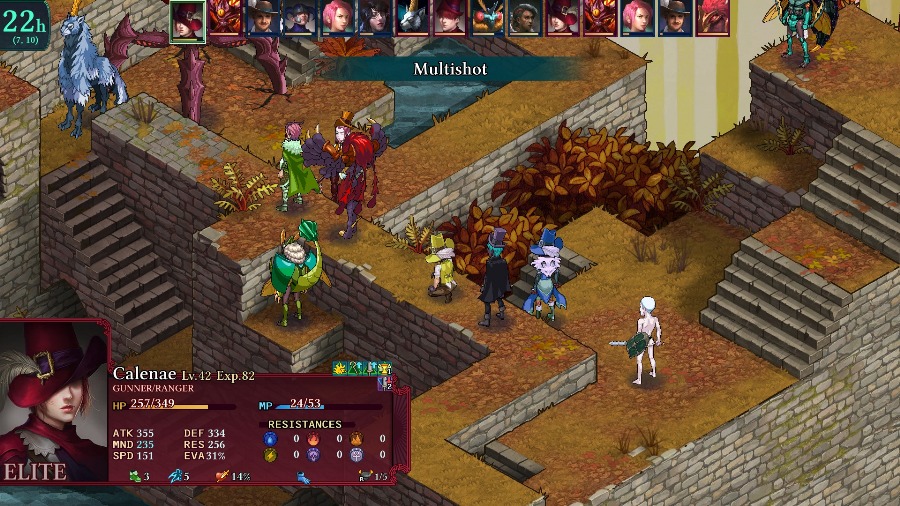
And the Gunner retaliates by blasting most of my group for a good chunk of damage.
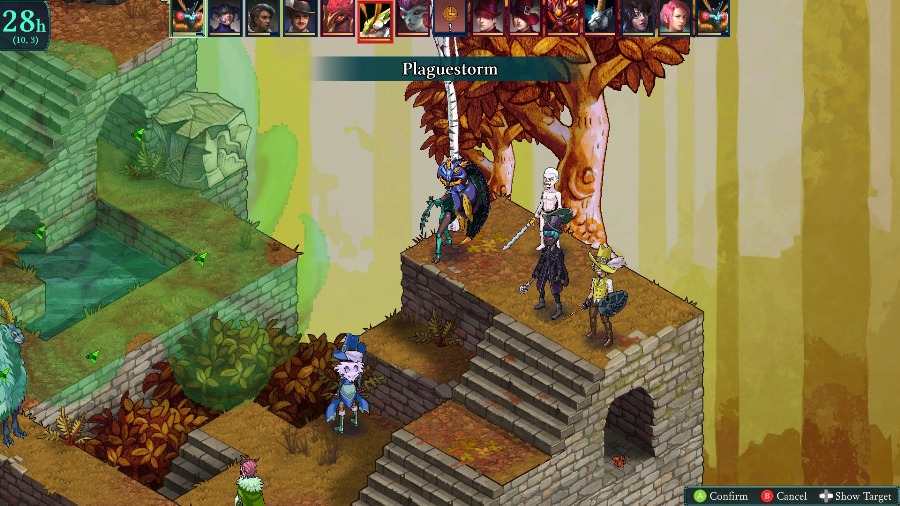
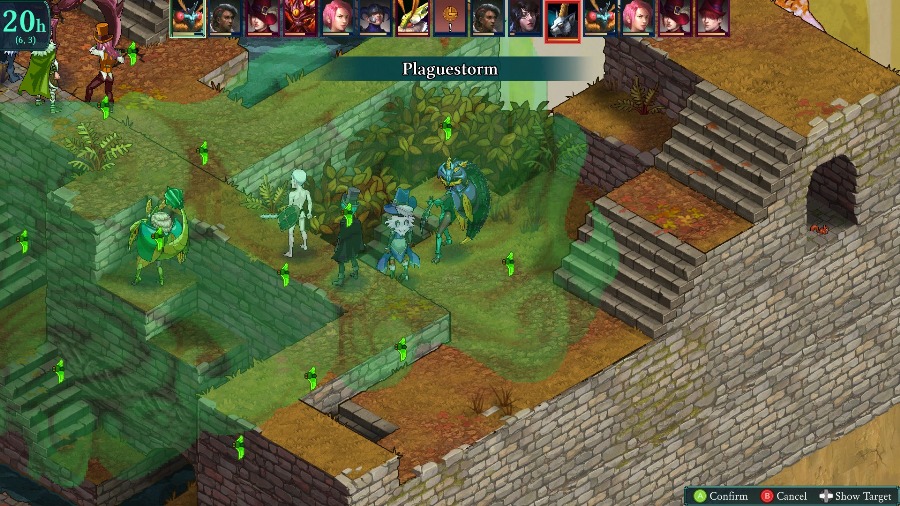
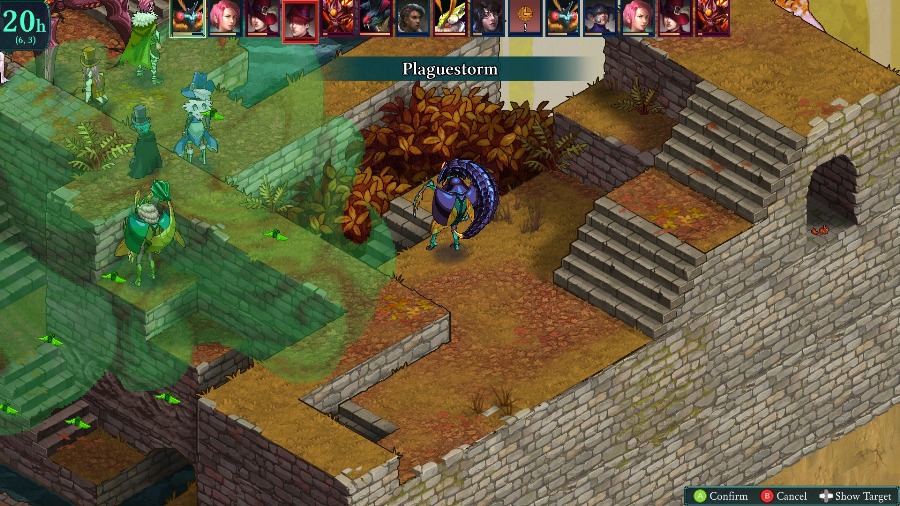
I have Hannah give Bzaro some MP so he Plaguestorms everyone. This actually works out really well, as it charmed both the Phoenix and the Keryneia, and berserked the Peddler too.
The Phoenix uses its move to blast the Domincubus for about half of its health, and then the Bzil uses the AI’s full potion to heal it back to full.
The AI keeps on going, as the Peddler and Keryneia focus on killing the Domincubus.
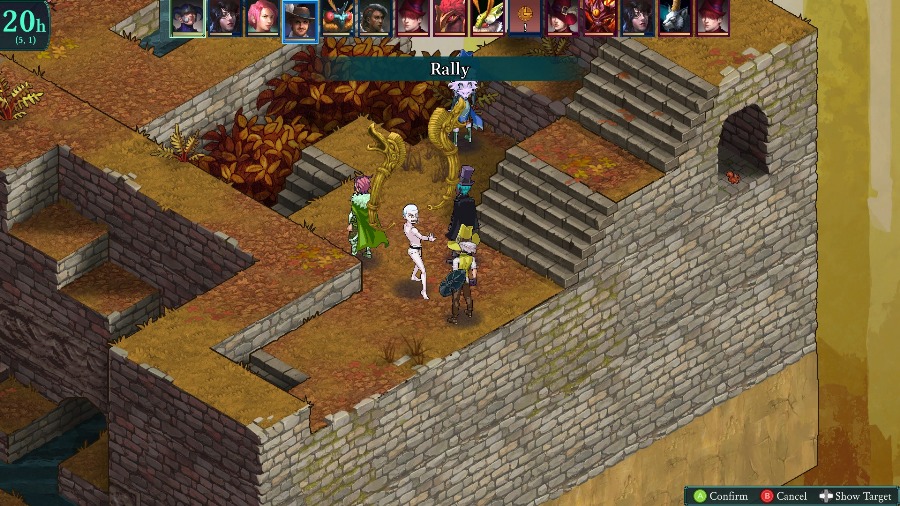
While over on my side Mongo gets a massive Rally off.
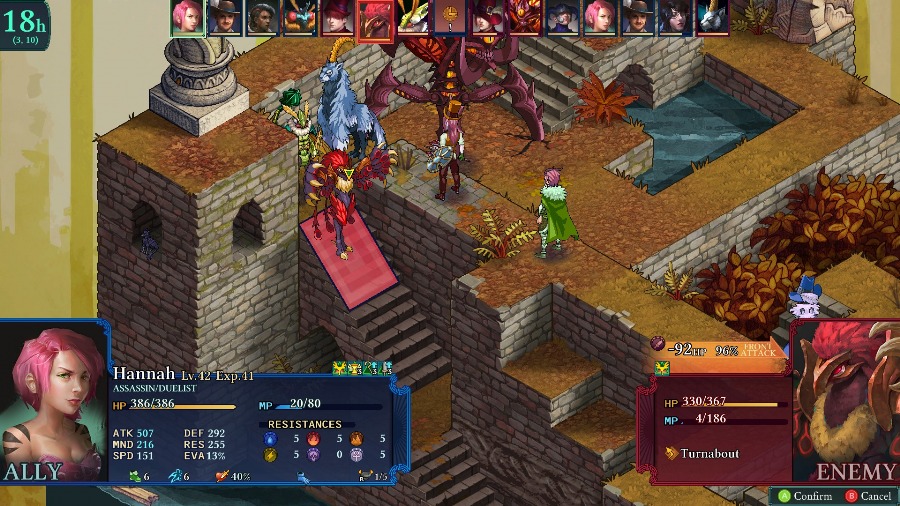
Which Hannah uses to advance and actually close with the enemies. She falls just short of being able to take out the Peddler, so I just have her take a potshot at the Phoenix instead.
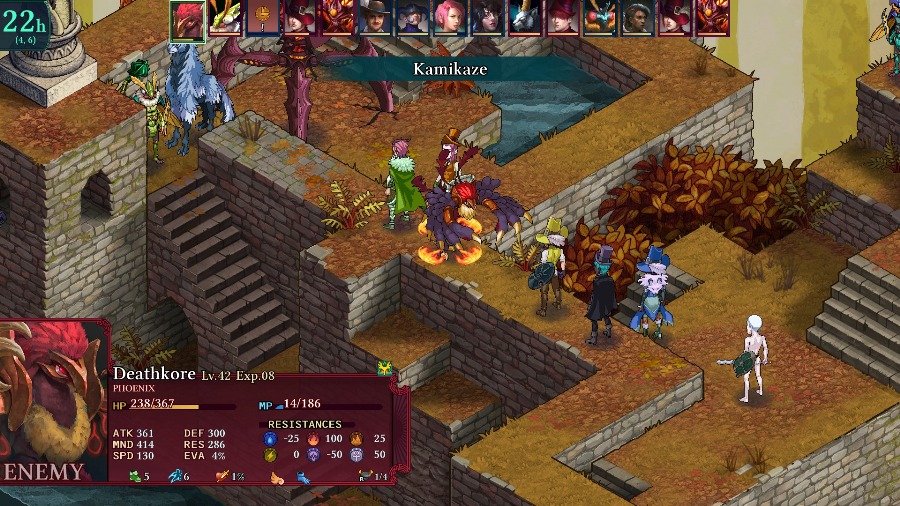
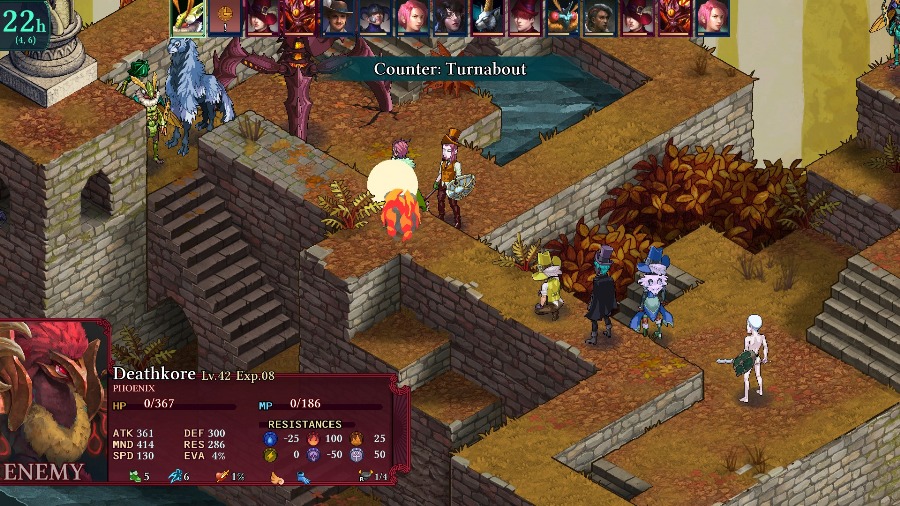
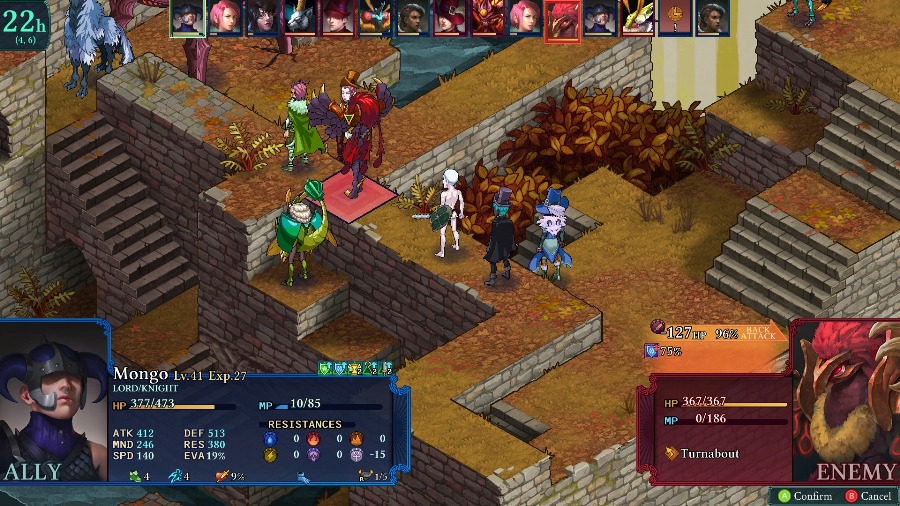
But the Phoenix doesn’t like that and uses the Kamikaze-Turnabout combo to hurt everyone pretty badly. And the Bzil uses its turn again to heal the nearly-dead Phoenix.
While the Gunner takes advantage of the Kamikaze to kill Eustace and hurt Selina and Azure as well.
And Mongo and Hannah work together to take out the Phoenix before it Kamikazes again.
Azure falls a bit short on damage, so I have her attempt to berserk the Peddler, which works.
The Keryneia uses its last turn of charm to heal Hannah back to full.
And then, since no one is charmed anymore I have Bzaro Plaguestorm again, which puts a few people to sleep.
Continuing their tag team, Hannah and Mongo cooperate to kill the Keryneia before it gets another turn.
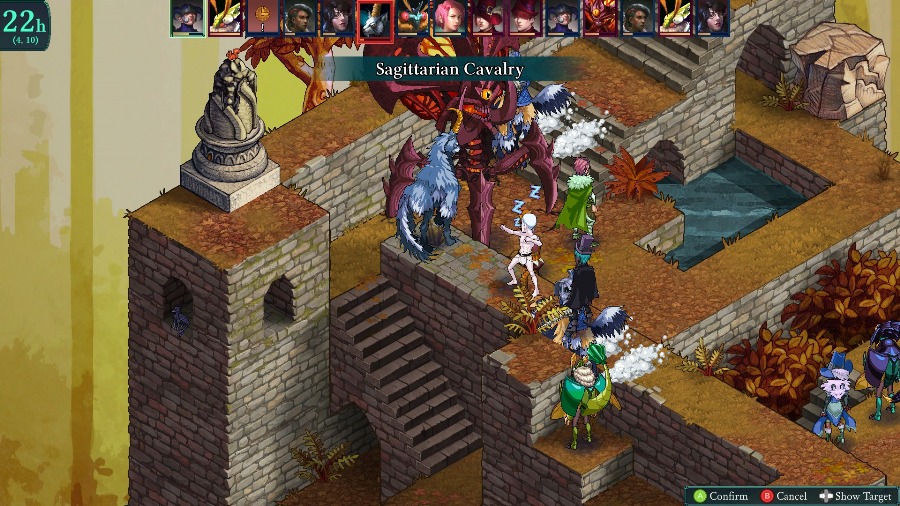
And at the turn marker, part of the map’s gimmick appears. After the certain time limit elapses, every full round will spawn a new Rakkerjak down in the water. If you’re not careful, this can pretty easily overwhelm you after the starting enemies wear you down.
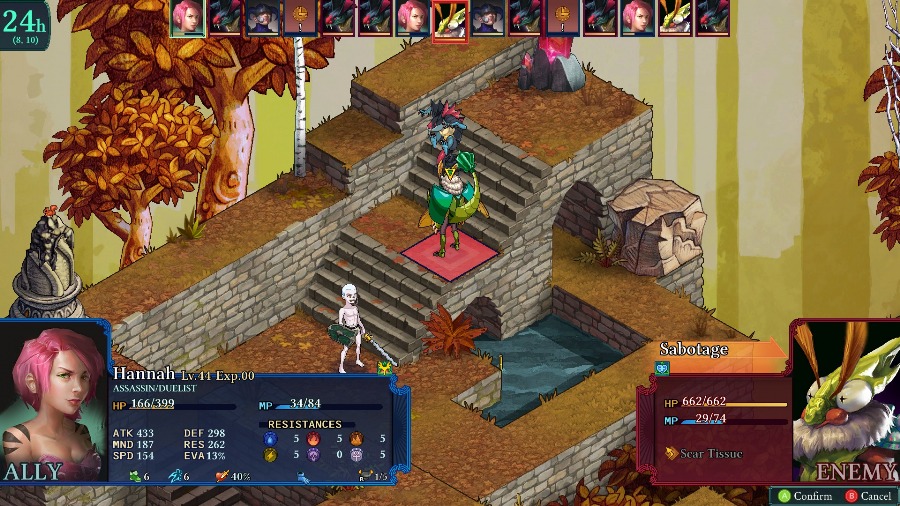
But I ignore that for now and have Selina weaken the Peddler instead of healing herself. She’s rooted so she can’t just run up and kill the guy.
But Bzaro’s able to do enough damage to the Peddler with another Plaguestorm to take them out.
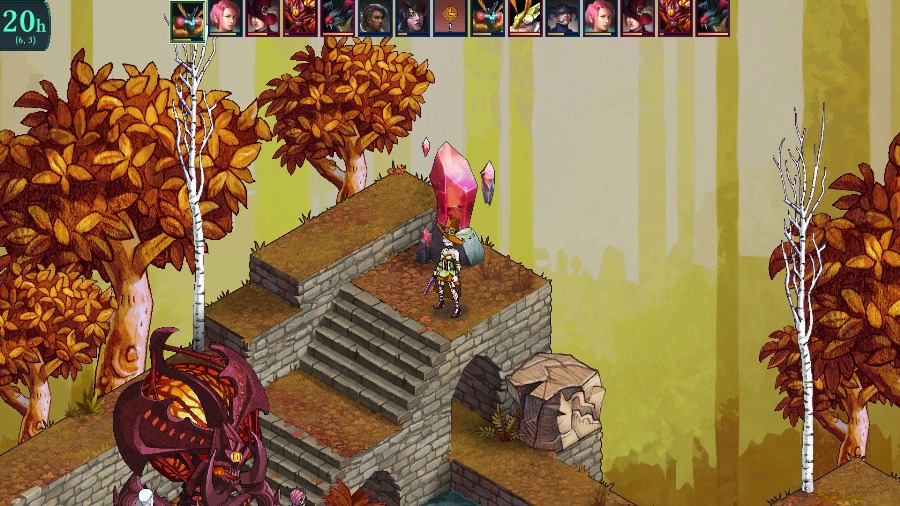
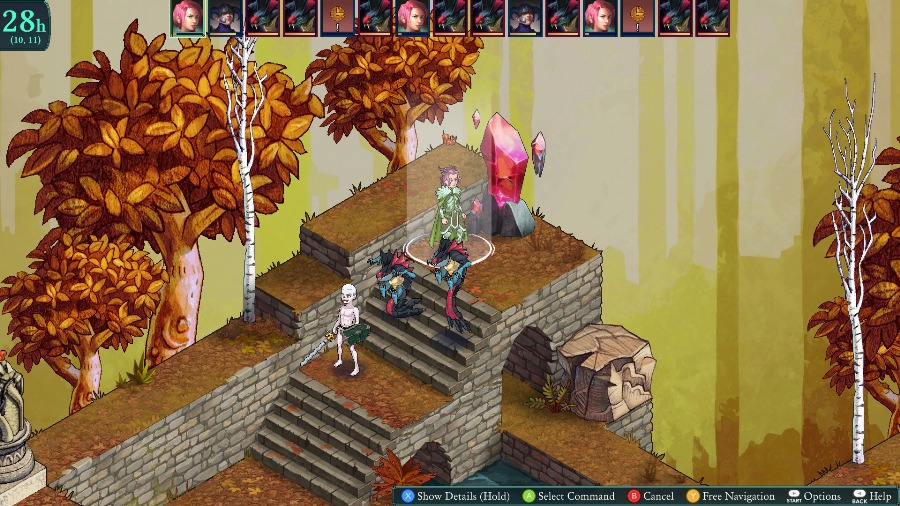
Which is my 4th kill of the map, activating the crystal. Now, anyone next to the crystal can use an action to teleport out. I’ll be trying to fight my way over, but there are still quite a few enemies in the way.
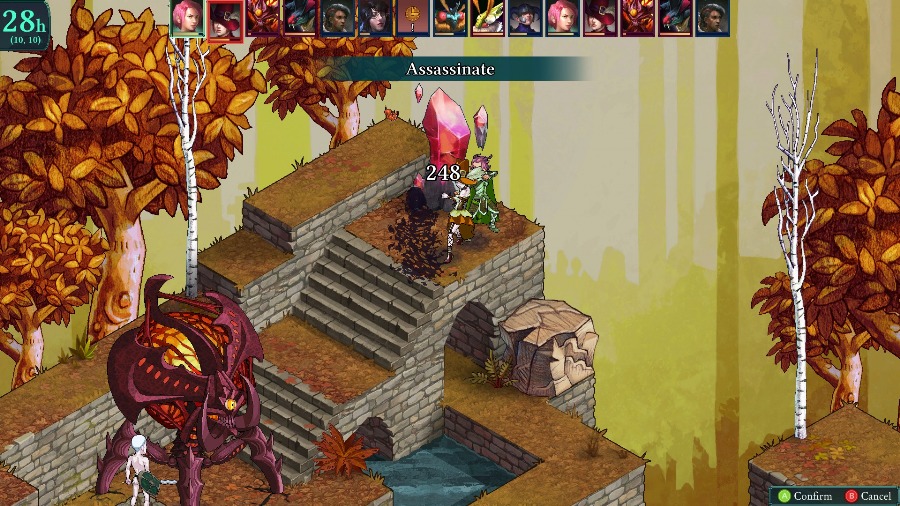
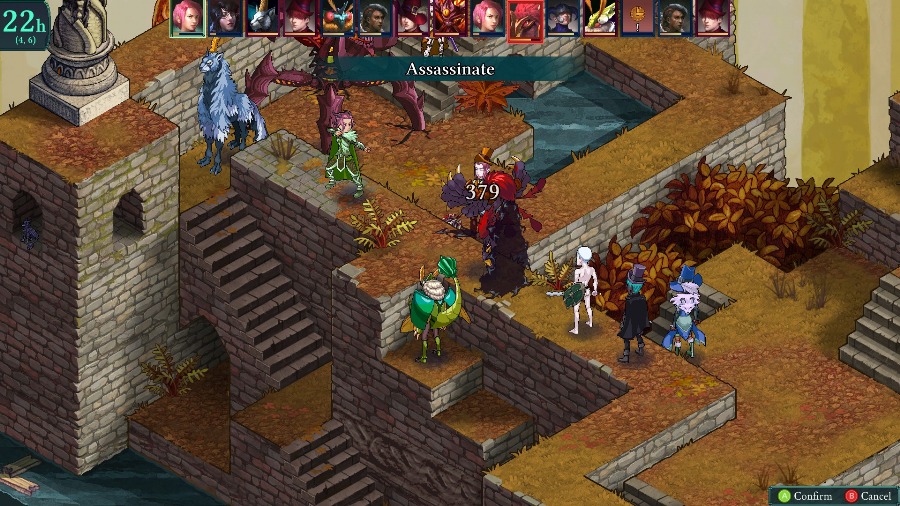
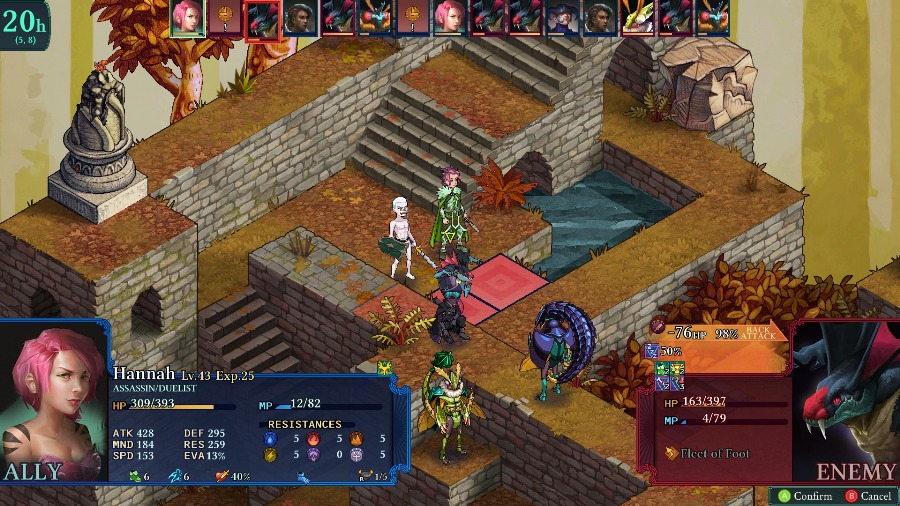
Continuing the focus on that area, I have Hannah run up to the Gunner and Assassinate them.
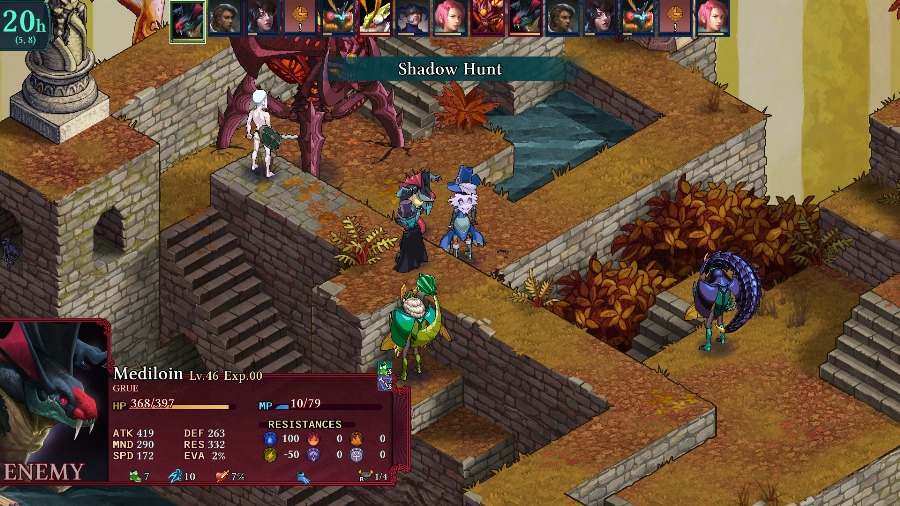
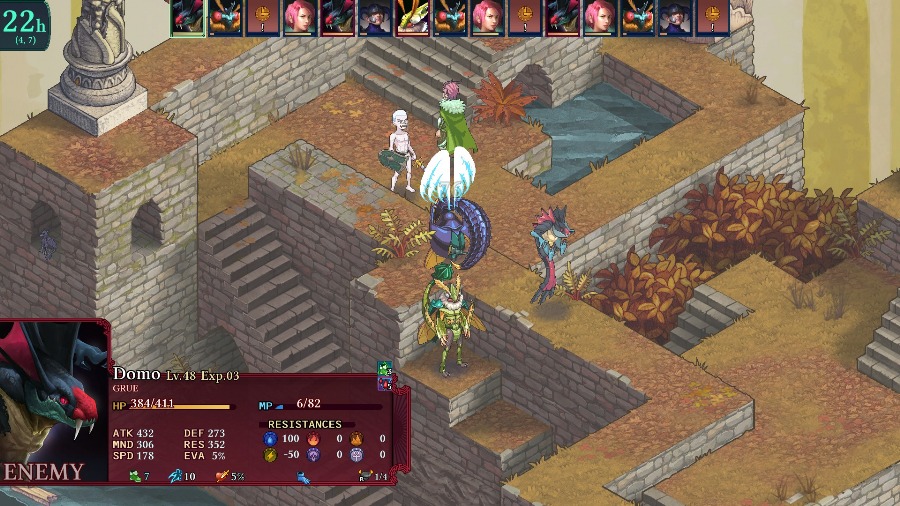
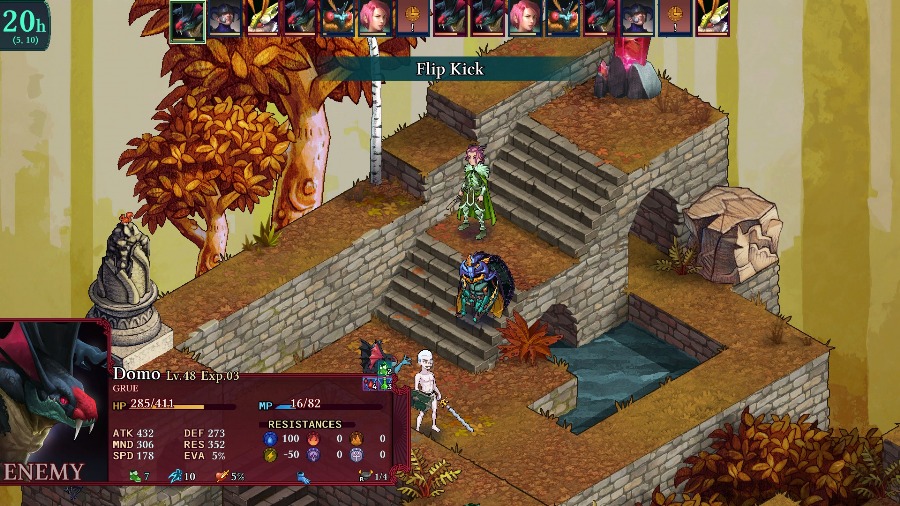
But due to the Grue’s ridiculous movement range, the freshly spawned one is able to run all the way across the map and take out Azure.
Selina’s still rooted so I have her weaken the Grue.
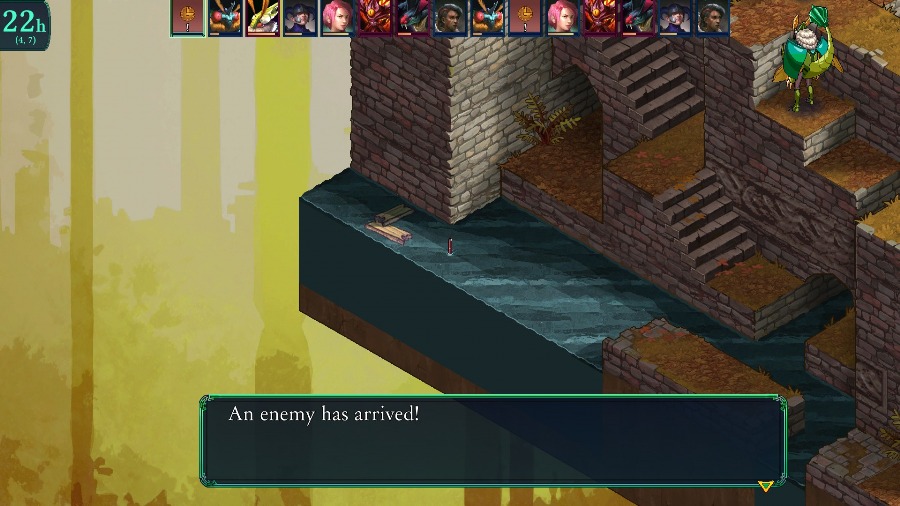
As yet another one spawns in.
And the Bzil fully heals the Grue, which is very annoying.

Mostly because it means that Mongo can’t kill the Grue on his own, and Hannah falls one tile short of reaching the Grue on her own. I attempt to put it to sleep, but fail the 50/50 shot.
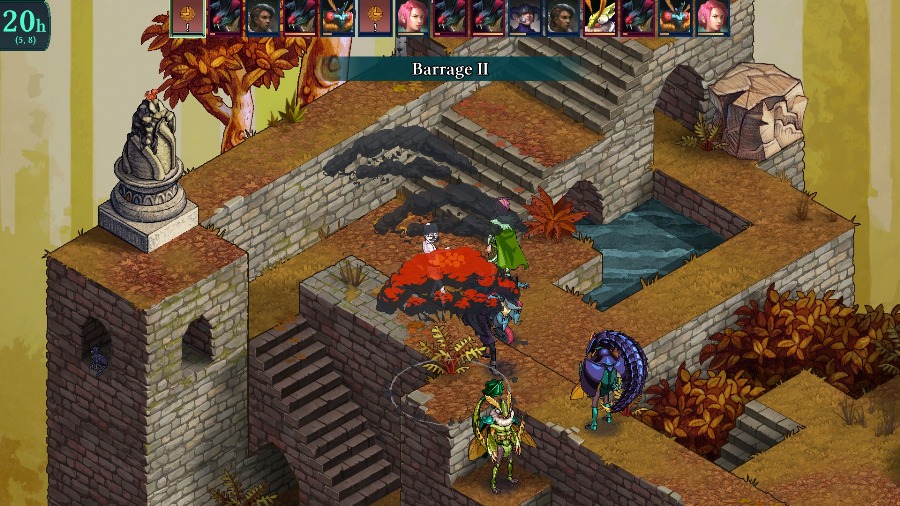
Selina dies to a lingering Barrage from the now dead Aeoth.
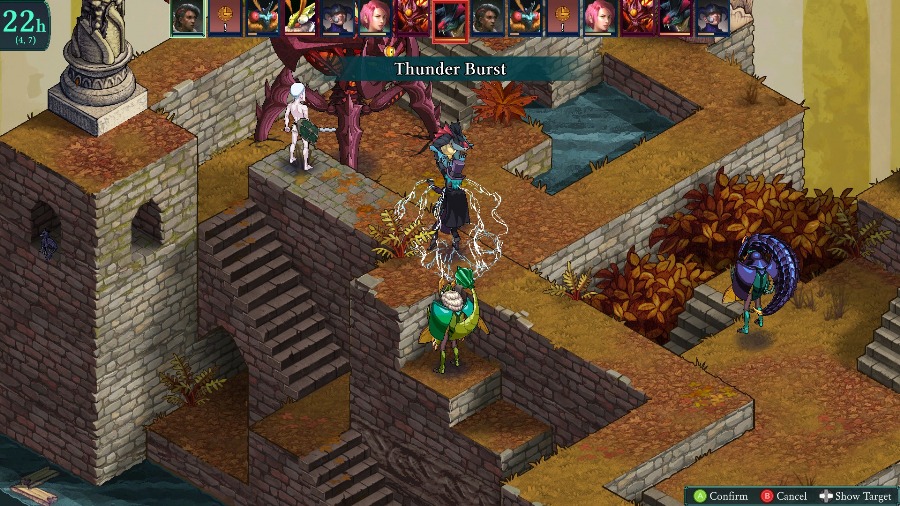
While the Grue kills Bzaro and triggers his reraise.
Hannah heals Mongo back to full. I could have healed Bzaro instead, but a full health Mongo is much more likely to stay alive than a full health Bzaro.
The Grue runs over and kills Bzaro

And a freshly spawned one comes up and starts messing with Mongo, with the Bzil in tow.
But after a bit I’m able to take out the Bzil by drowning it.
And after a few more close calls Mongo and Hannah are able to teleport out for the win.
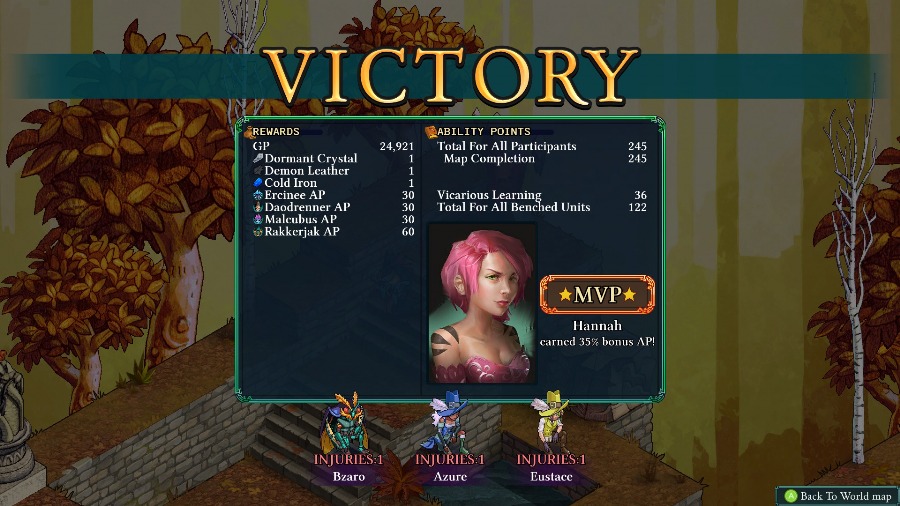
Overall a pretty tough battle and a fitting start to the bonus dungeon. The starting enemies are pretty powerful in their own right, and you’re on a relatively strict timer to defeat them before the Grues start spawning. I probably could have done a bit better if I’d stuck a bit more fire res on my people to protect against the Phoenix and the Aeoth or healed Selina to let her survive the final Barrage but I think I played it pretty decently in the end.
We get a few nice crafting materials, but nothing crazy from here. I didn’t think to record it at the time, but there is a hidden chest on the map as well. That giant statue in the left corner hides a button. Use an action to activate it, and it drains the water from the bottom of the map, revealing a treasure chest hat you need to jump down to. It gives you a high stat light armor with 100 Dark resist (and a copy of it was worn by the Peddler in this battle).
Anyway, with that fight done we’ll be moving on to the 2nd floor of the Ancient Path next time!